Here is the eight and final part of my master grade Sandrock's WIP. It's all about the weapons. Sandrock's primary weapon is the heat shotel, and that's what I'm going to tackel first.
I've already painted the heat shotel before, together with the inner frame but I'm not contented with it's outcome. I would like to make it look real..to make it's blades realistic but I don't have the right paint with me now. So I remove the heat shotel's previous color by using acetone. When it's back already to its original color, I used Tamiya gloss black for the base coat (instead of using metallic gray before)
I then painted it with Tamiya titanium silver just like the first one. I like the outcome of its color now than before..it became more metallic and luminous, although differences in the pictures below can't be seen that much.
 |
| My first attempt: using metallic gray as base coat |
 |
| My revised paint: using glos black as base coat |
The color of the shotels' handle on the other hand remained. So I just added the given decals for it. I also give it a flat top coat while the for the blades including the luminous red, I used gloss top coat.
As the name goes..the shotels has the ability to be heated up. I 'm so happy that red blades (showing that it is heated) is also included in this kit as a replacement for the silver blades. Here is a closer look of it.
For the beam machinegun, I didn't make any changes anymore. What I did before together with the inner frame is still the same up to now. The combination of Tamiya flat black as its base coat and topped with Tamiya gun metal looks great for it. Decals were just added to make it look better.
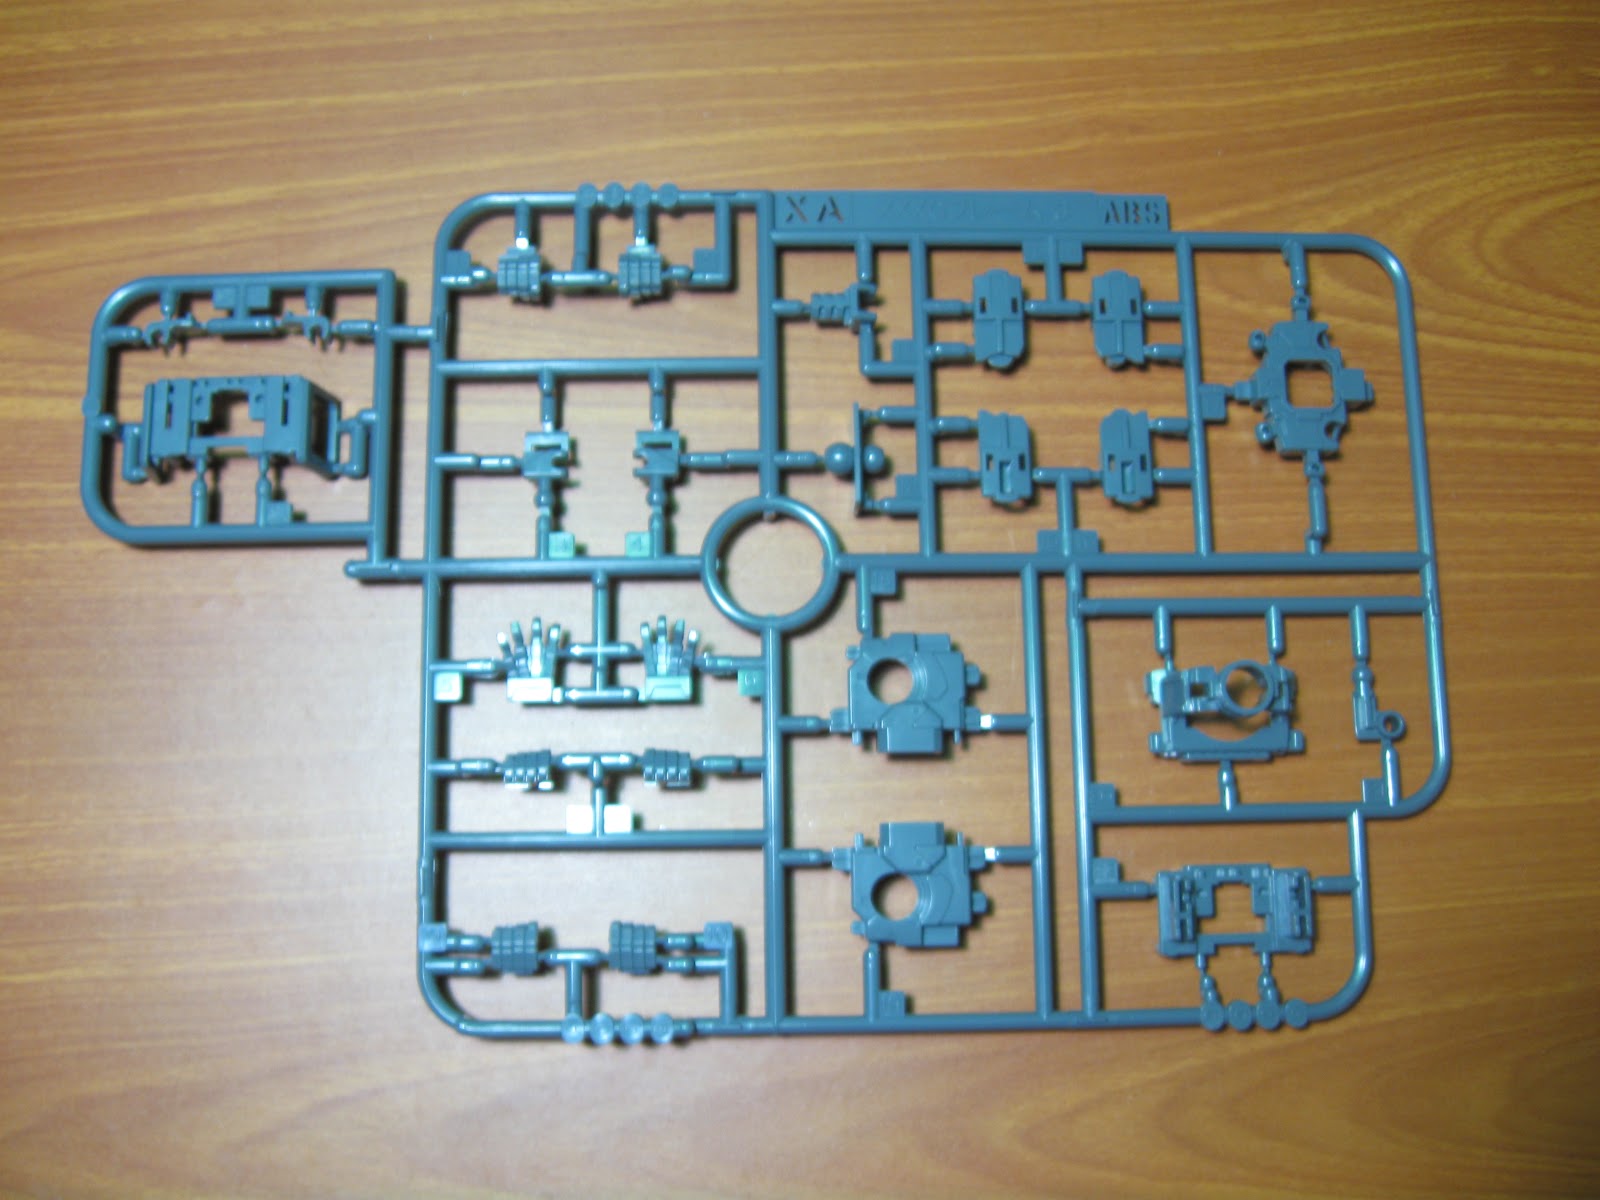
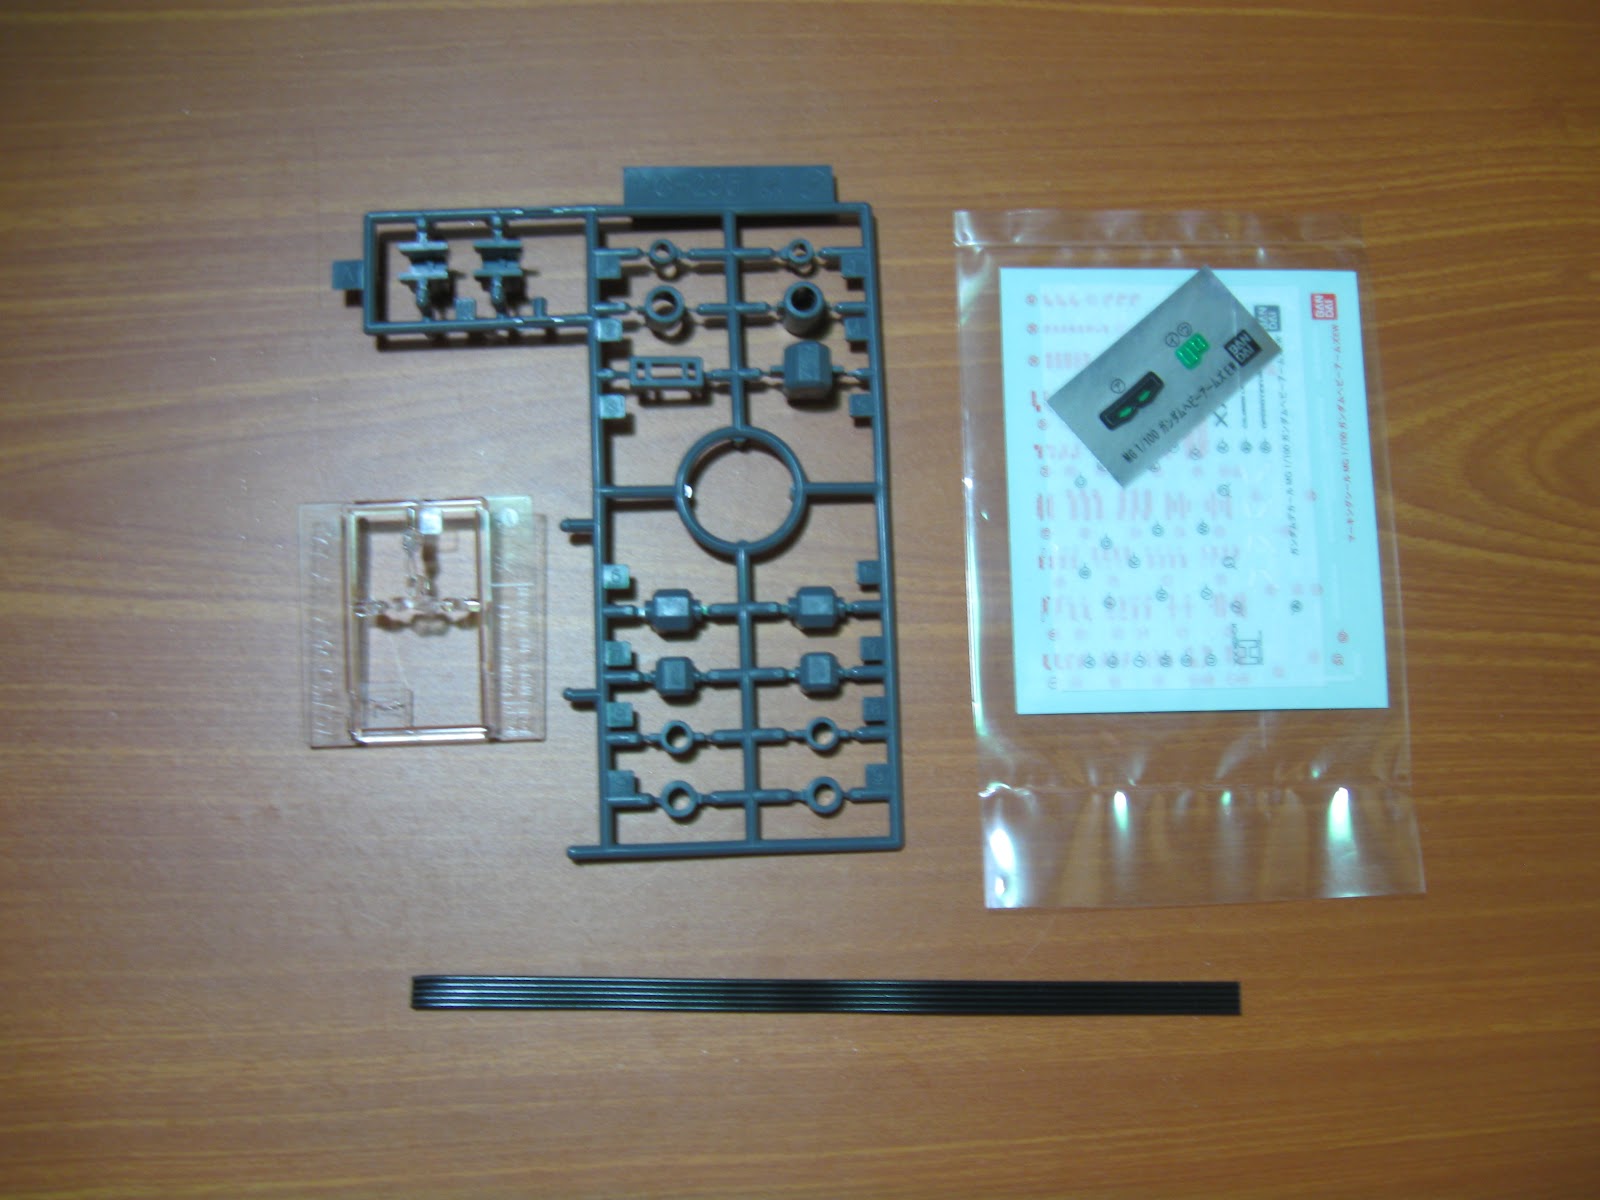
For the shield, below are the parts that needed to be assembled. I painted them separately according to their respective color.
For the transparent part, instead of using the provided stickers, I painted it with gloss black topped with Tamiya red. The same thing goes to the blue part..instead of using the white stickers, I just painted it. However the outcome doesn't look that good because I only hand painted it. Below is the assembly of the shield.
This is final product. Still gonna need to put the decals on it...
MG Sandrock's shield..now with decals on it. See the difference from the previous one?
Other angles of the shield...
The "fang-like" of the shield can be pulled down to make it look like a claw.
What I like more on the weapons is that they can be connected to each other. The heat shotels can be locked on a peg under the shield, thus making it a huge weapon.
The heat shotels can be also open wide while attached to the shield.
But wait..there's more! It is not just the heat shotels that can be attached to the shield..but also the beam machinegun. Just fold the handle and lock it on the shield's ride portion, and it's all done!
Check out the completed Master Grade Sandrock on my upcoming posts. Thanks for viewing! :-)